Computer Graphics (Q6)
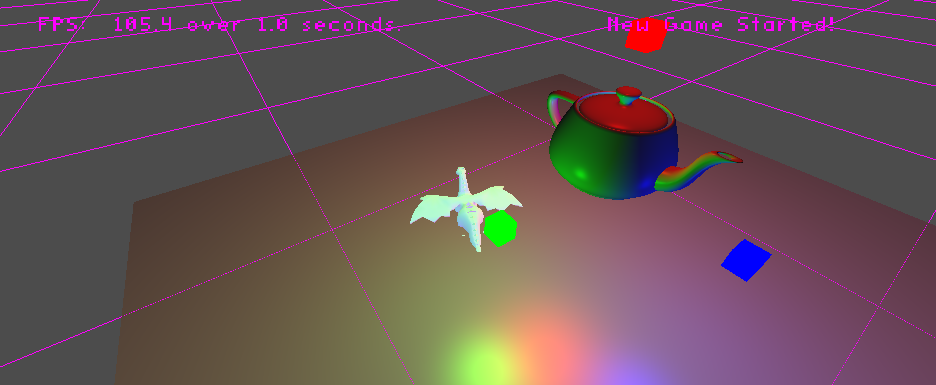
Lab 1: Teapots
A simple lab for which we lit teapots using phong lighting.
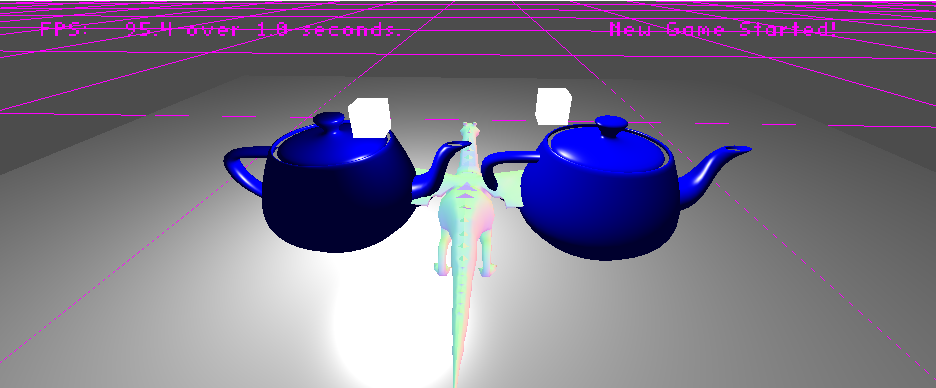
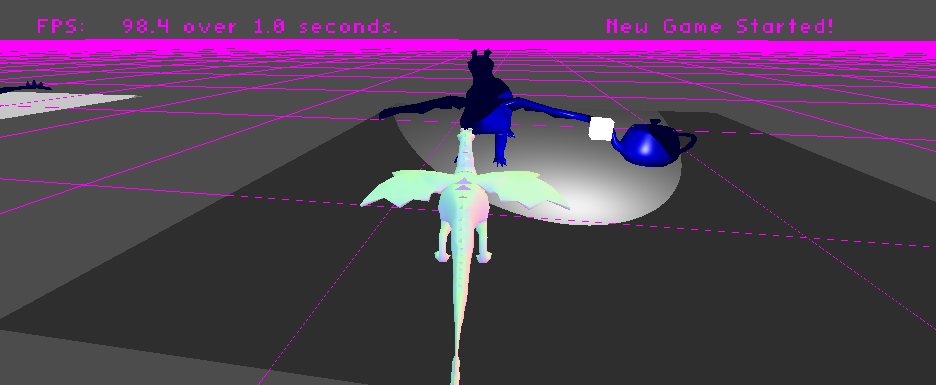
Lab 2: More Teapots
A lab in which we lit several teapots using different shaders and shader techniques, including subroutines, to show our engines were flexible enough to handle it.
Lab 3: Even more Teapots
Part of lab 3, where we showed the difference between point lighting and directional lighting on teapots. Depending on light placement, it can be hard to see.
Lab 3: Cel shading
Another part of lab 3, where we wrote a shader to quantize lighting values to get cel shading with specifyable number of light levels.
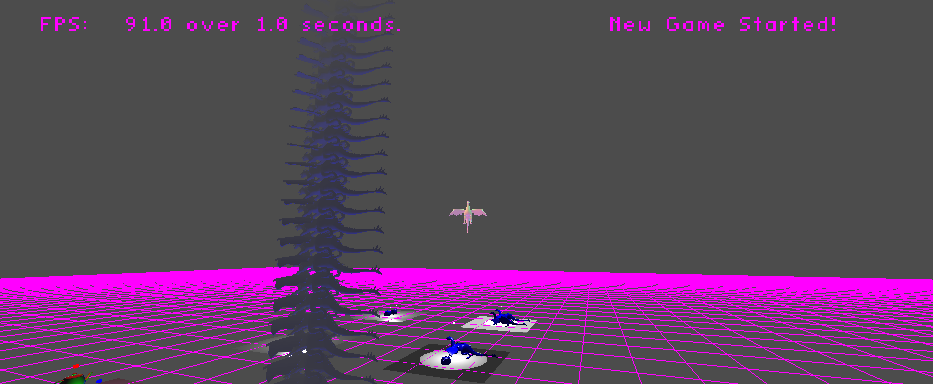
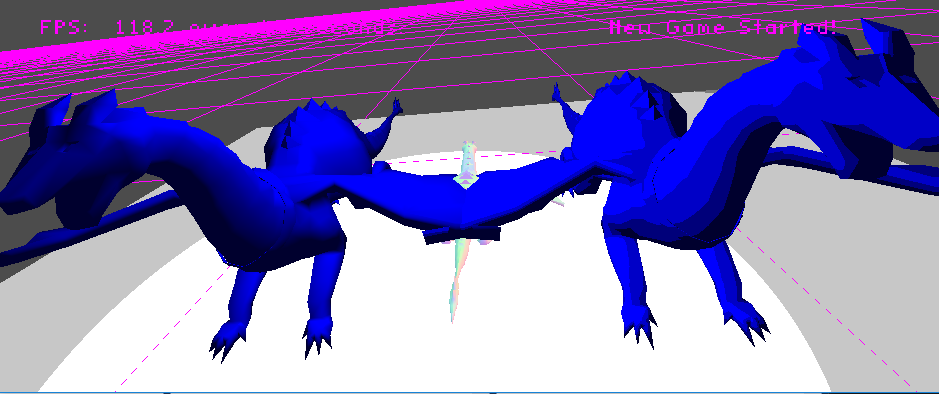
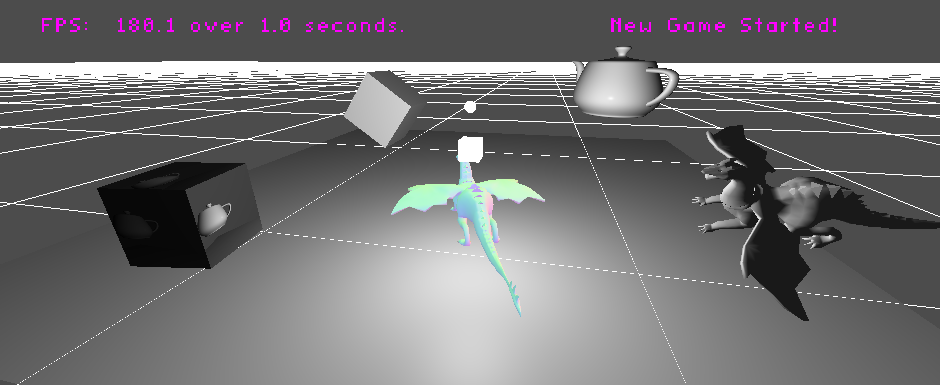
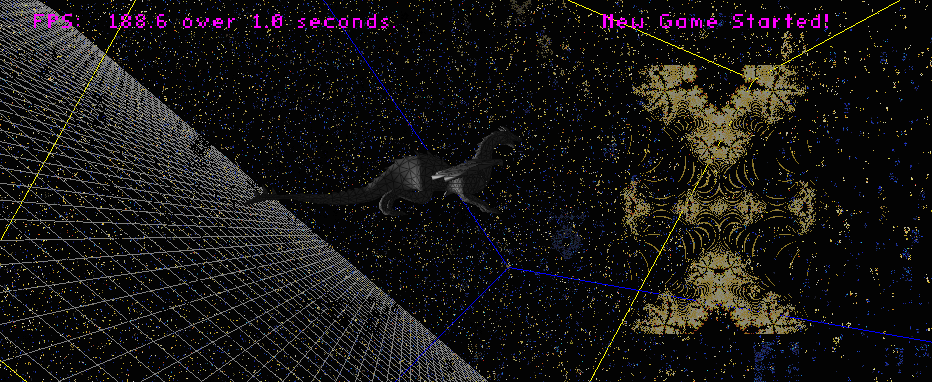
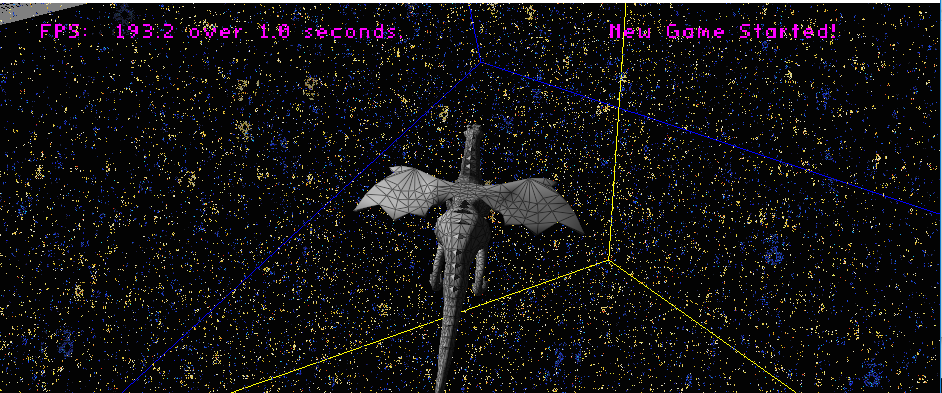
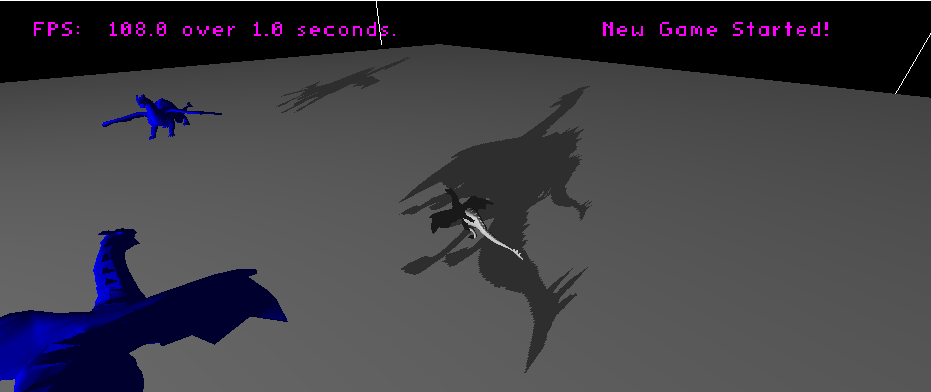
Lab 3: Fog
Another part of lab 3, where we wrote a fog shader so that further away objects using this shader get foggier. Demonstrated on a stack of dragon models made by me.
Lab 3: Multiple lights
Another part of lab 3, where we wrote a shader that accepts multiple light sources so our objects can be lit using more than a single light source.
Lab 3: Spotlight
Another part of lab 3, where we wrote a shader that lights an area with a spotlight, rather than a point light or directional light.
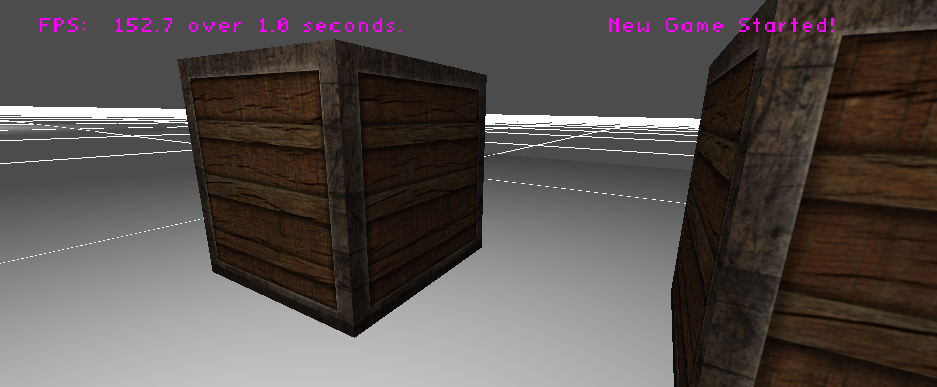
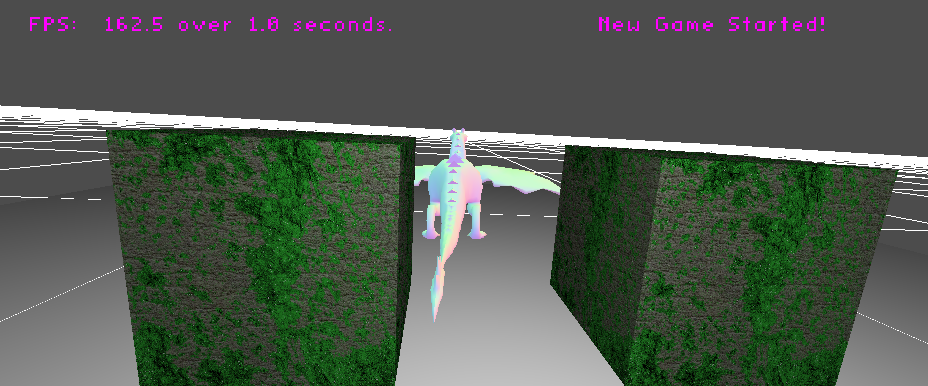
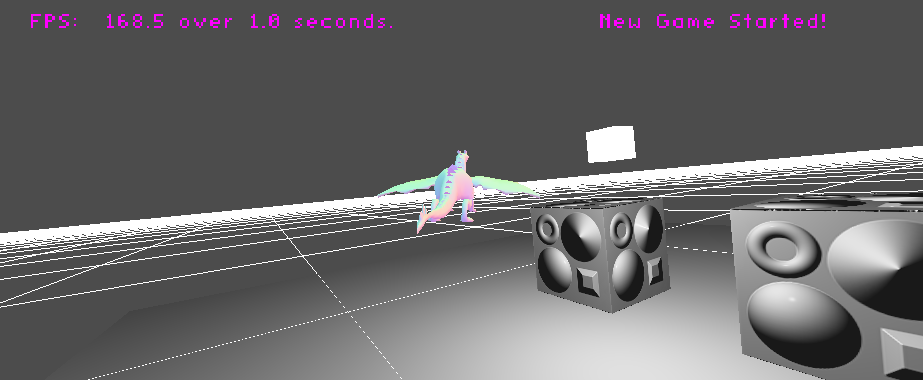
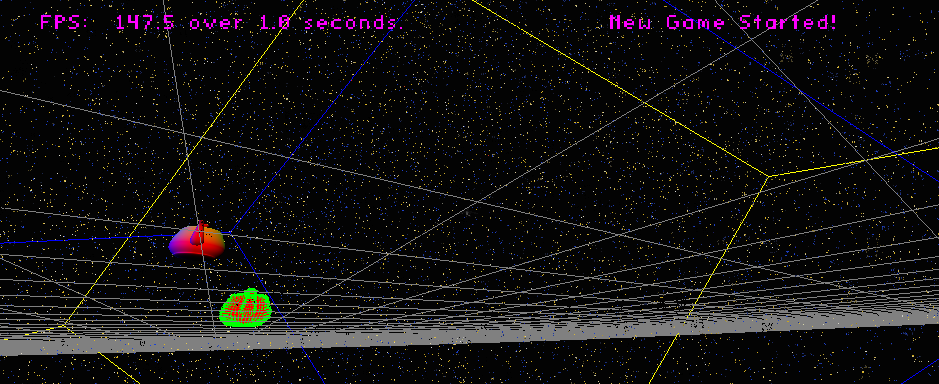
Lab 4: Crate
Here we light a textured model. Pretty simple modification of previous shaders.
Lab 4: FrameBuffer
Here we render in multiple passes for the first time. By rendering from a secondary camera to a framebuffer, and using that as a texture on the cube, we get a representation of the world on a surface within the world.
Lab 4: Multiple Textures
Here we write a new shader that allows us to use multiple textures on the same model. First a cement texture, followed by a moss texture with transparency.
Lab 4: Normal Map
Here I wrote a shader that takes in a normal map to use for lighting, giving the illusion of a more detailed surface than is actually present. It is actually just a cube, but the sides light as if there is geometry present even as the light is moved.
Lab 4: Transparency
Here I write a shader that takes in a mask to determine which fragements to discard to allow for part of a texture to be applied to a model without having to alter the blend state or alpha values.
Lab 5: Normal Hair
Here, using a geometry shader, the normals of the faces of, and the vertices of, a model are drawn as lines protruding from the mesh.
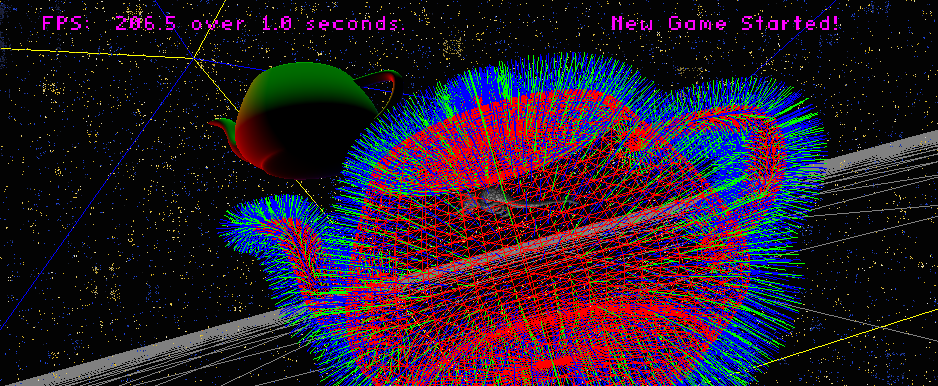
Lab 5: Fractals
Here I applied a fractal shader that I wrote extracurricularly to a billboard for the billboarding assignment.
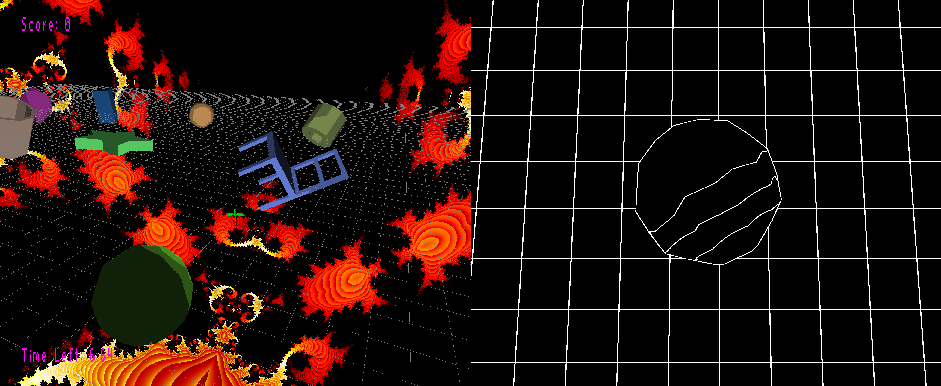
Lab 5: More Fractals
Here I take strong advantage of the per-pixel intensity of my shader to render 200,000 planes with fractal shaders on them, that become more clear as you approach them.
Lab 5: Wireframes
Here we write a wireframe shader to display on lines on top of a model so triangles can be identified.
Lab 6: Blur
Here shadows are blurred to make the edges appear smoother and make pixelation less visible.
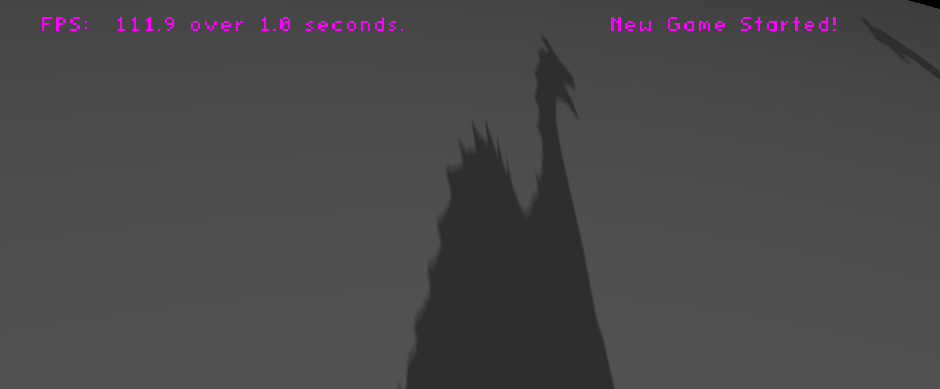
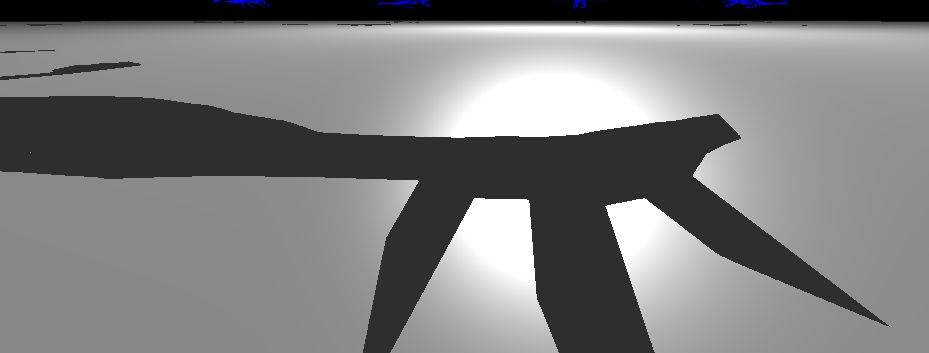
Lab 6: Shadows
Here shadows are rendered using a depth texture and a custom shader.
Lab 6: Volumetric Shadows
Here shadows are made pixel-perfect in a less-efficient manner by using a more complicated technique involving shadow volumes.
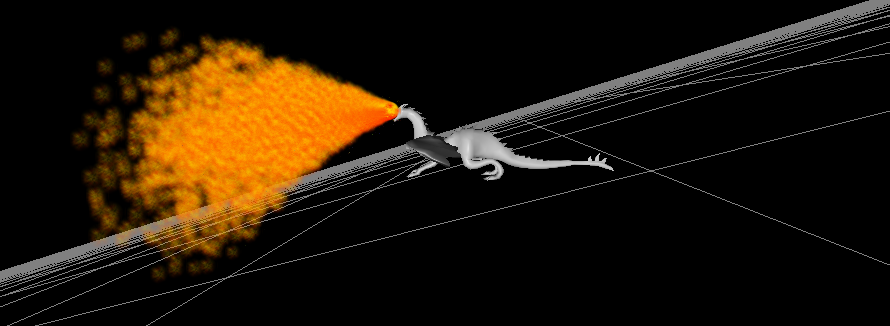
Lab 7: Particle Fire
Transparency, billboards, geometry shaders, combined and used over and over to make particles.
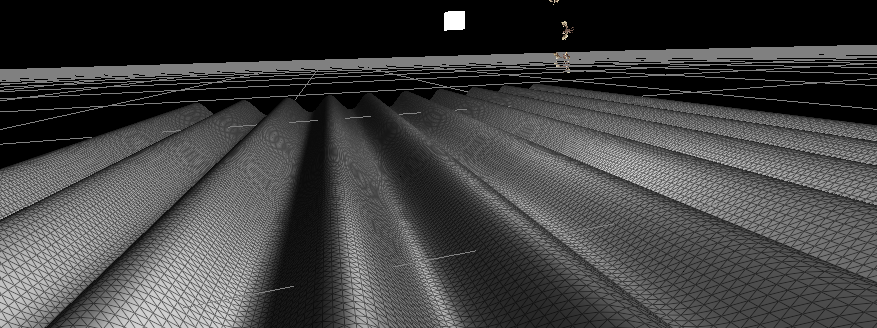
Lab 7: Plane
A shader makes use of a sine curve to turn a flat plane into a continuously moving wavy plane by passing in time, amplitude, etc. to the shader.
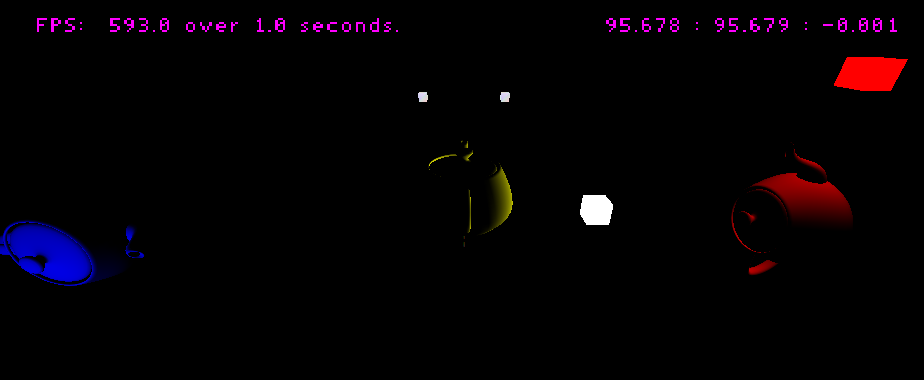
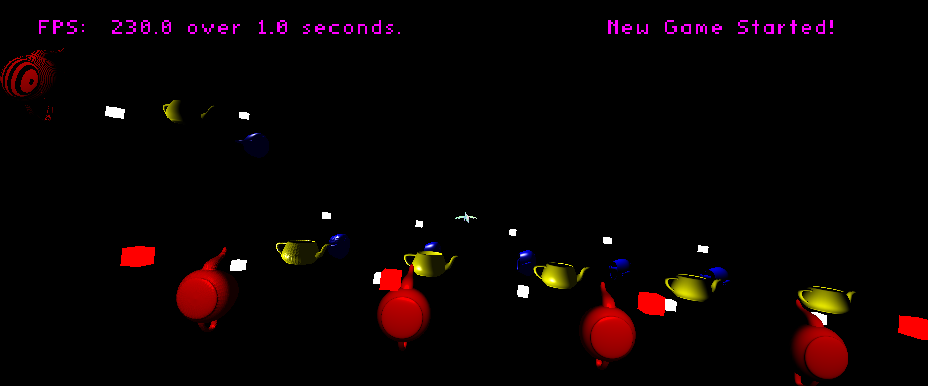
Final Assignment
For the final assignment, I implemented edge detection and made a simple 3D matching game, where you must find and click the object whose edges are shown in the full 3D world.
Project Tech/Algorithms
- C++
- OpenGL
- .obj File Format
- GLSL (OpenGL Shading Language
Extended Details
Computer Graphics was another game-engine based course I took at Neumont. Here I have put together a slide show of screenshots from various shaders and assignments I wrote during the course.
Shaders were written in GLSL, and loaded using the game engine I created for the Game Libraries course. This was a very intense course, stretching my shader writing skills to new levels every week.
The most difficult assignment written for the course was the Volumetric Shadows assignment. In fact, I was the only student in that particular section to get the shader rendering properly. It was a 3-pass shader involving altering several OpenGL state changes we had never worked with before or had explained to us. Through thorough research and an intense coding session, I was able to overcome this, though it is quite inefficient.
Project Credits
Justin Furtado (Me) - More Projects By Me